How-to
How to Make Your Carved Pumpkin Last 2+ Weeks
Simple tricks to keep your masterpiece glowing well past Halloween: no weird chemicals, just a few habits that slow the rot.
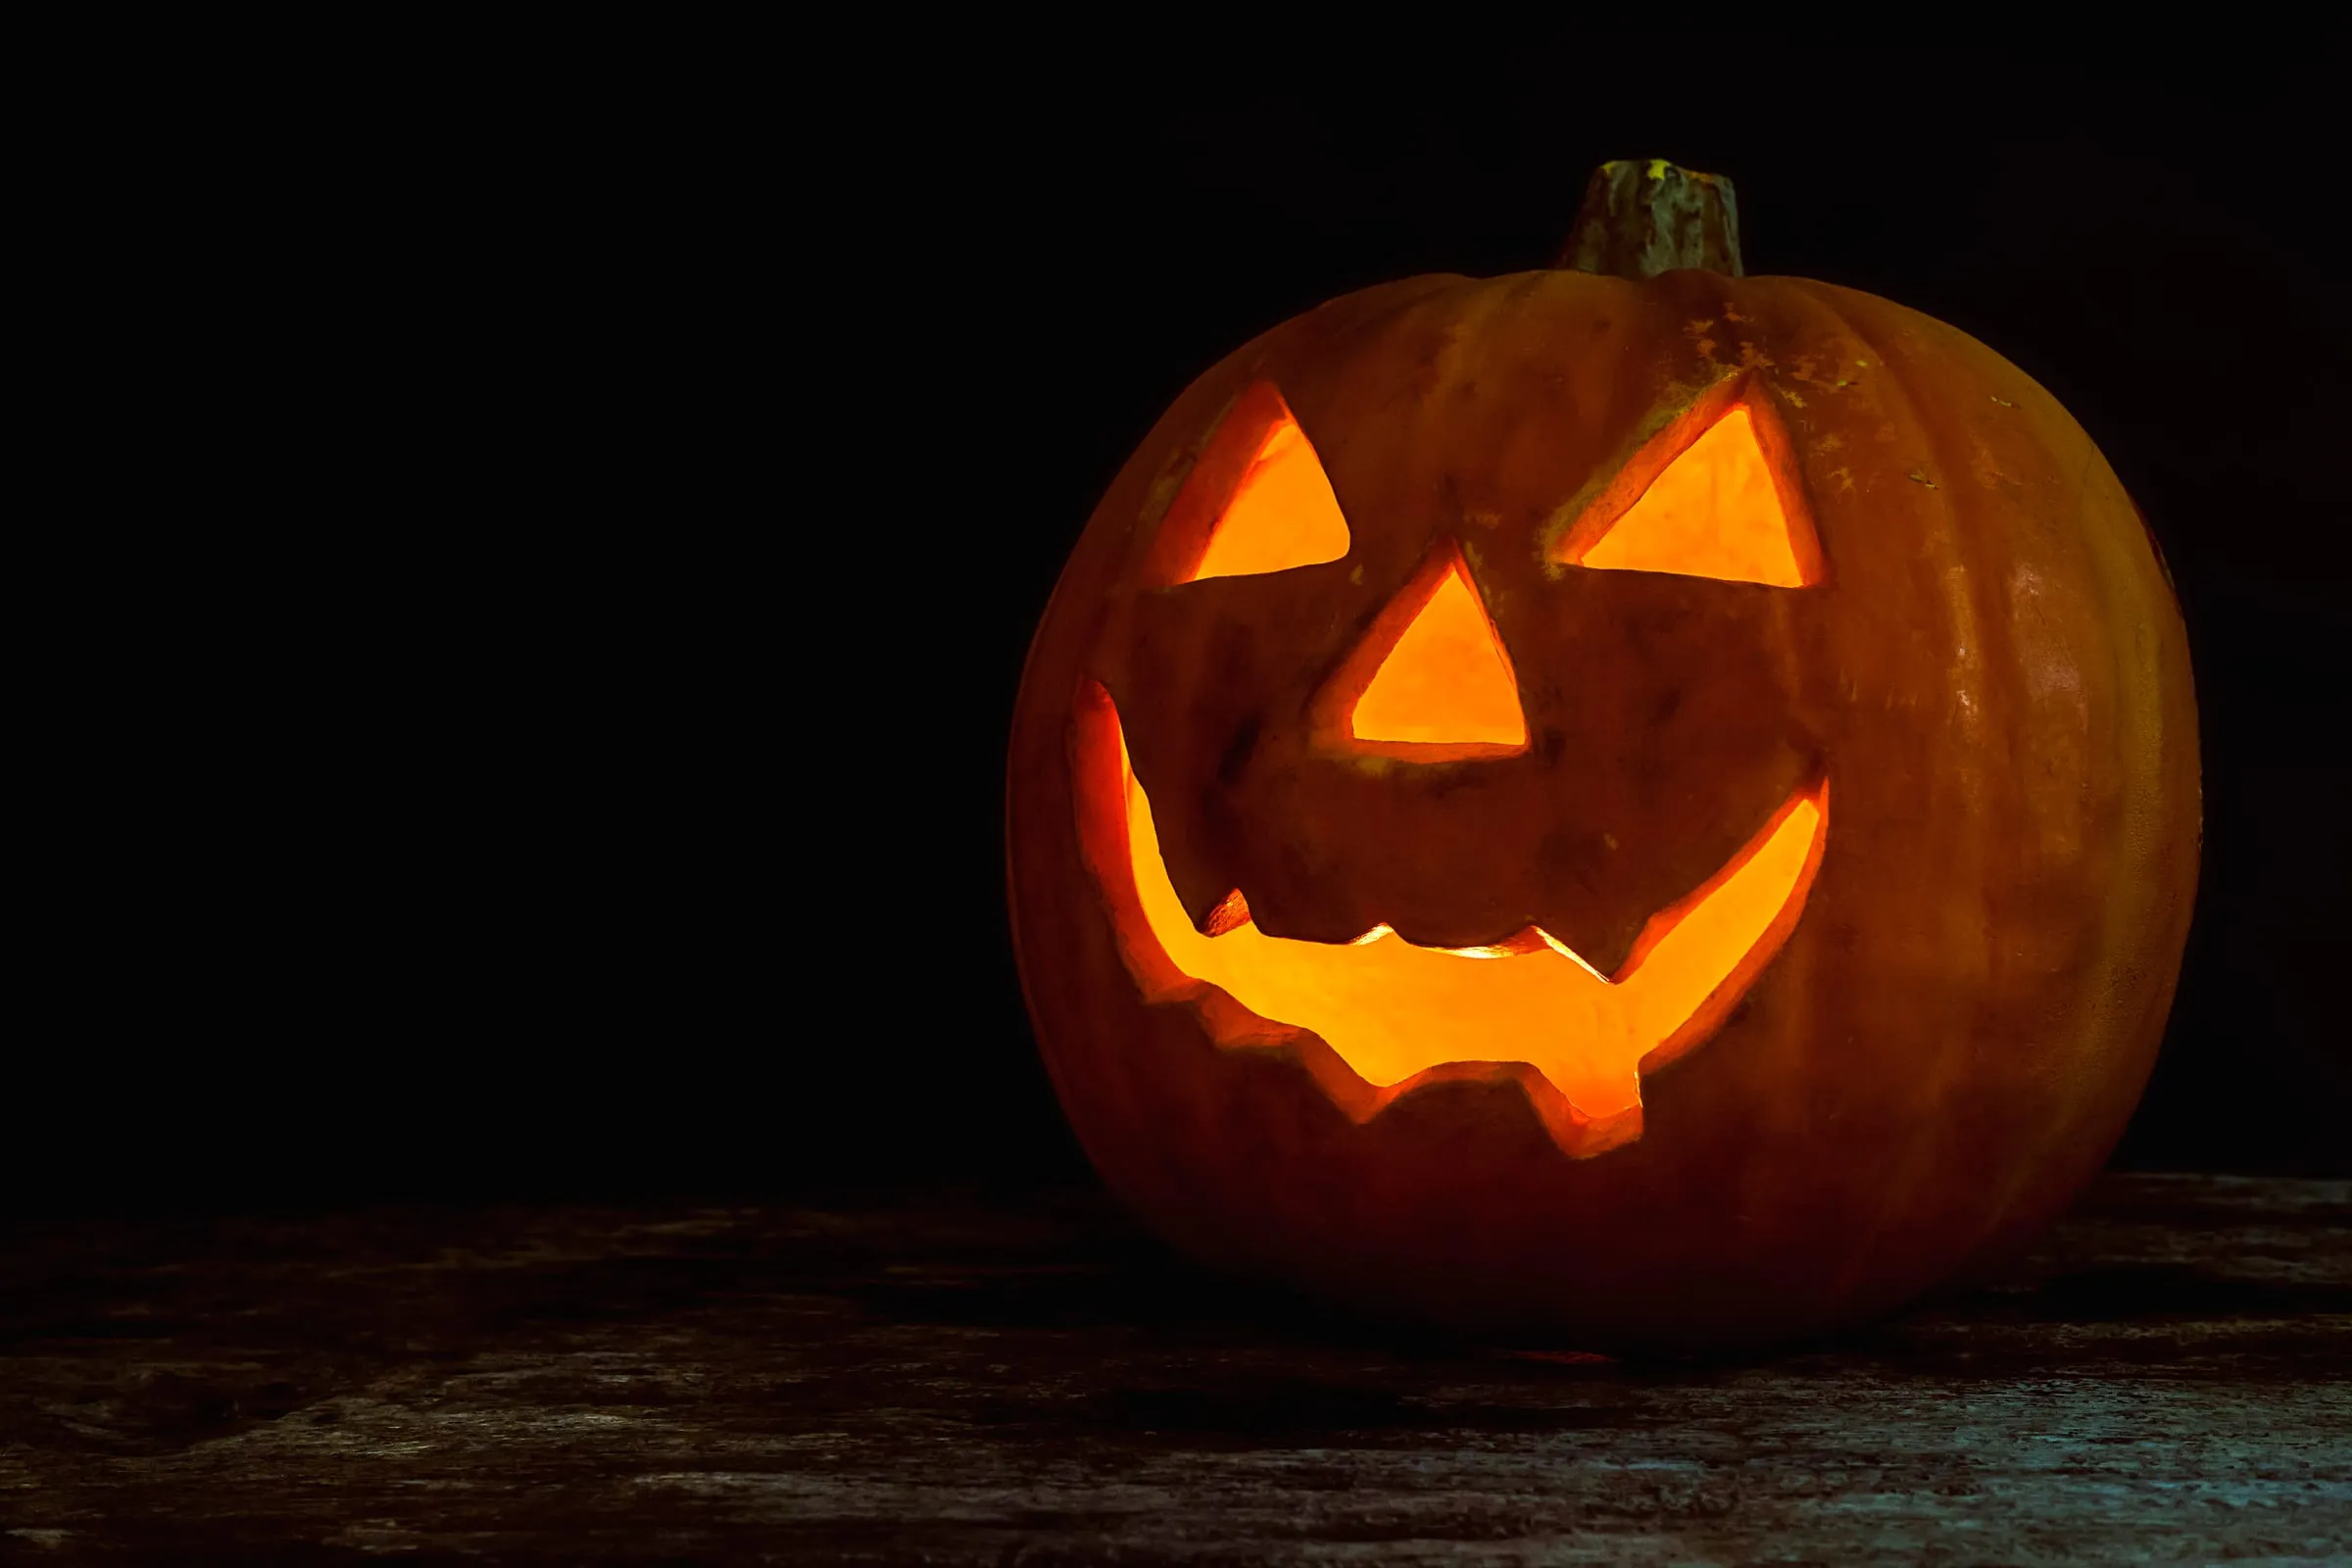
You spent real time carving. Here’s how to keep it looking sharp instead of caving in by the weekend. None of this needs special chemicals: just a few habits.
Why pumpkins go bad
A carved pumpkin is an open wound losing water and inviting mold. Everything below is about two things: keeping moisture in and keeping mold out.
The routine
1. Clean it out completely
Scrape the inside walls until they’re smooth and dry-ish. Leftover stringy pulp is the first thing to mold.
2. Give it a bleach bath
Mix about a tablespoon of bleach into a quart of water. Dunk the whole pumpkin (or spray all the cut surfaces) and let it dry. This kills the surface mold spores that start the decay.
3. Seal the cut edges
Once dry, rub a thin layer of petroleum jelly or vegetable oil onto every carved edge. This traps moisture so the cuts don’t shrivel and curl.
4. Keep it cool
Heat is the enemy. When it’s not on display, keep your pumpkin somewhere cool: a fridge, a garage, or a shaded porch. A daily dunk in cold water perks it back up if it starts to droop.
5. Skip the real flame
A real candle slowly cooks the inside. Use a battery tea light or an LED puck instead, safer and longer-lasting.
Quick daily habit
A morning spritz of the bleach-water mix plus a cool overnight spot will get most pumpkins well past two weeks. Carve a fresh design when it finally gives out. Browse the shop for your next one.