How-to
How to Use a Pumpkin Carving Stencil (the Easy Way)
Tape, poke, carve. A simple design takes about 20 minutes: no special tools, no frustration.
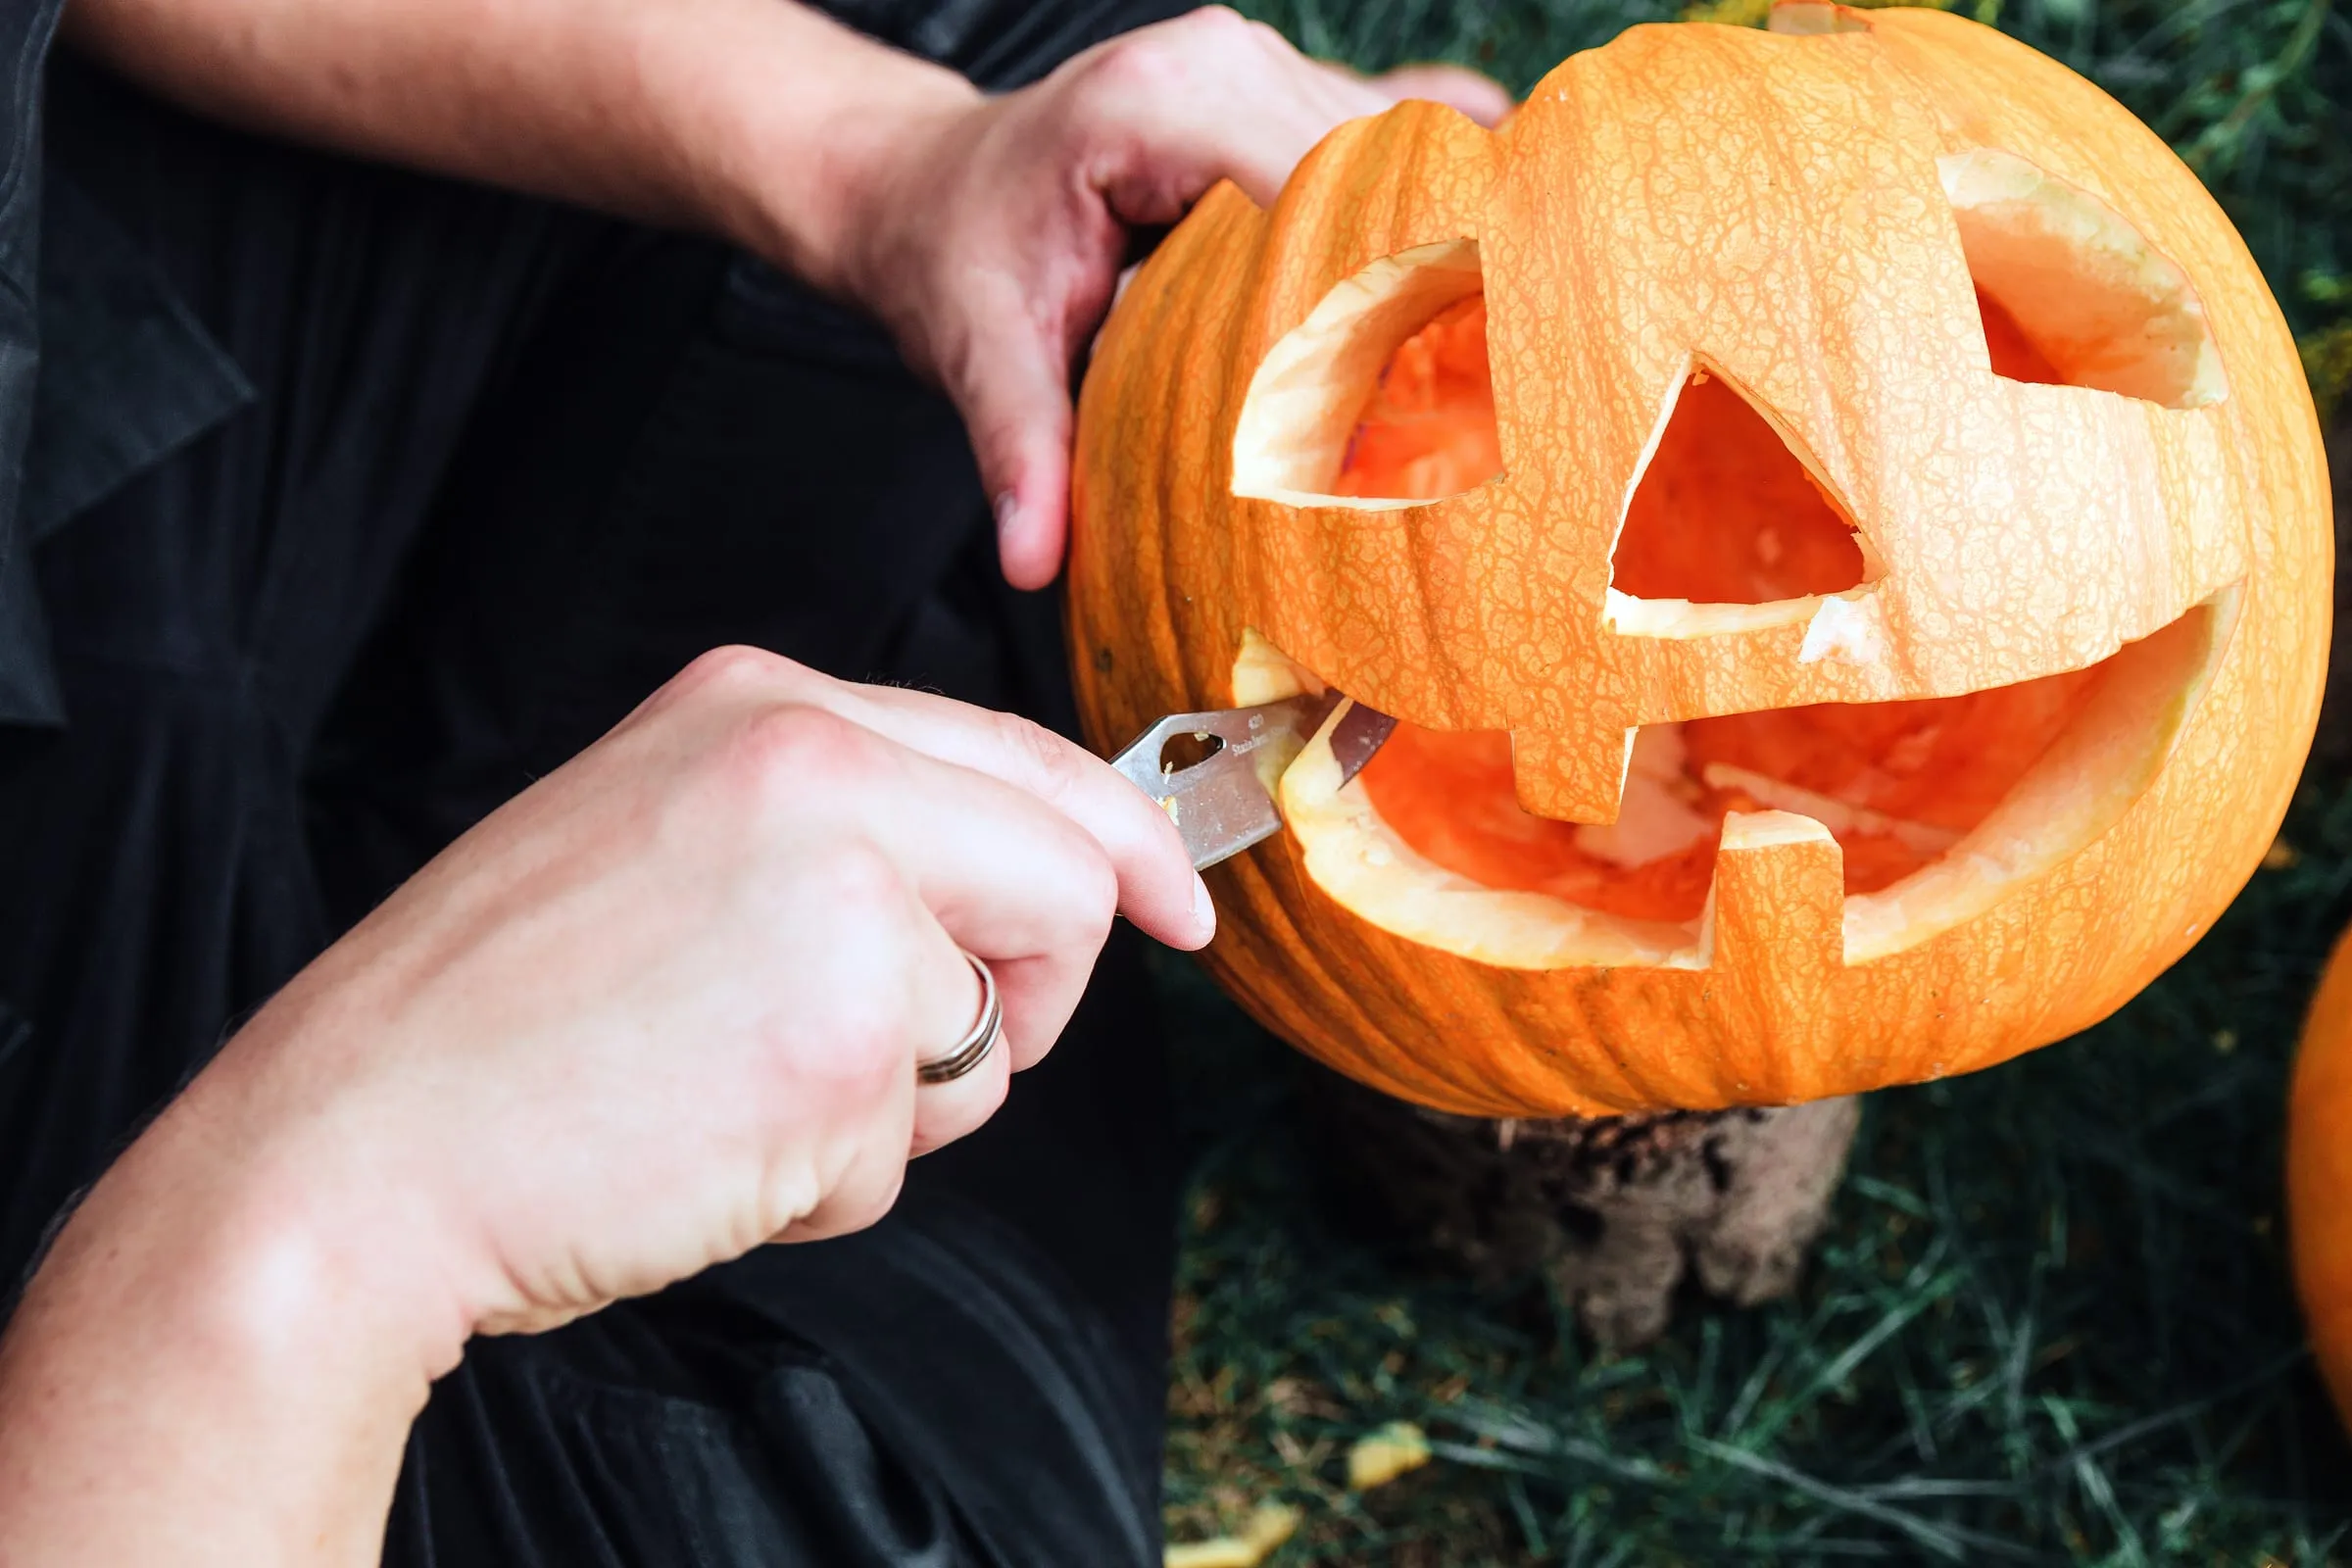
Carving with a stencil isn’t harder than freehand. It’s easier. The pattern does the planning so you just follow the lines. Adults do the cutting, and a battery light goes inside, never a real flame. Here’s the whole method, start to glow.
What you’ll need
- Your printed stencil (black-ink only is fine)
- Tape
- A poking tool: a pushpin, a toothpick, or a cheap carving poker
- A small serrated knife or a carving saw
- A scoop (an ice-cream scoop works)
- A hand mixer (optional)
The four steps
1. Print
Print the stencil at the size that fits your pumpkin. Each design is one to a page at letter size, which is about right for most pumpkins straight out of the printer.
For a bigger or smaller pumpkin, change the scale in your printer settings before you print. For a really big one, print on a larger paper size instead of enlarging a letter page.
2. Tape
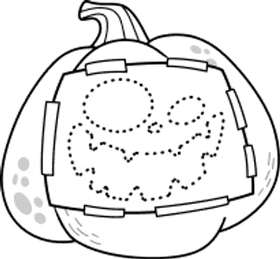
Hollow out the pumpkin first. A sturdy spoon works as a scoop. Shortcut: run a hand mixer around the inside to shred the strings, then scoop them out.
Then tape the stencil flat against the carving face. Snip little slits around the edges of the paper so it hugs the curve without wrinkling. Nails or pushpins hold the paper down as well as tape does, and are easier on a damp pumpkin.
3. Poke
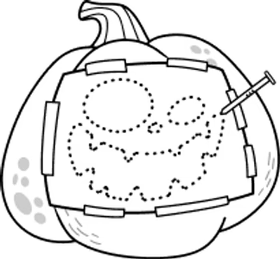
Trace every line by poking closely-spaced holes through the paper into the pumpkin skin. When you peel the paper off, a dotted outline stays behind: your carving map.
4. Carve
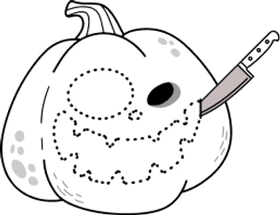
Cut along the dotted lines with gentle sawing motions. Carve the inside shapes first and the big outer shapes last, so the pumpkin stays sturdy while you work. Drop in a light and you’re done.
A few tips
- Keep the knife shallow and let the serrations do the work: don’t force it.
- For fine detail, cut just inside the dotted line so the holes disappear.
- If a piece won’t push out, re-cut the edges rather than shoving harder.
That’s it: about 20 minutes for a simple design after your first one. Want a forgiving first pattern? Start with the Simple packs in Family friendly, which are big bold shapes and about twenty minutes of work. If you have not bought the pumpkin yet, the picking guide covers what to look for.