Seasonal
7 Cat Pumpkin Carving Ideas, From Easy to Show-Off
Seven cat pumpkin ideas, from no-knife marker cats to a glowing skeleton cat, with a tip for each and printable cat stencils to match.
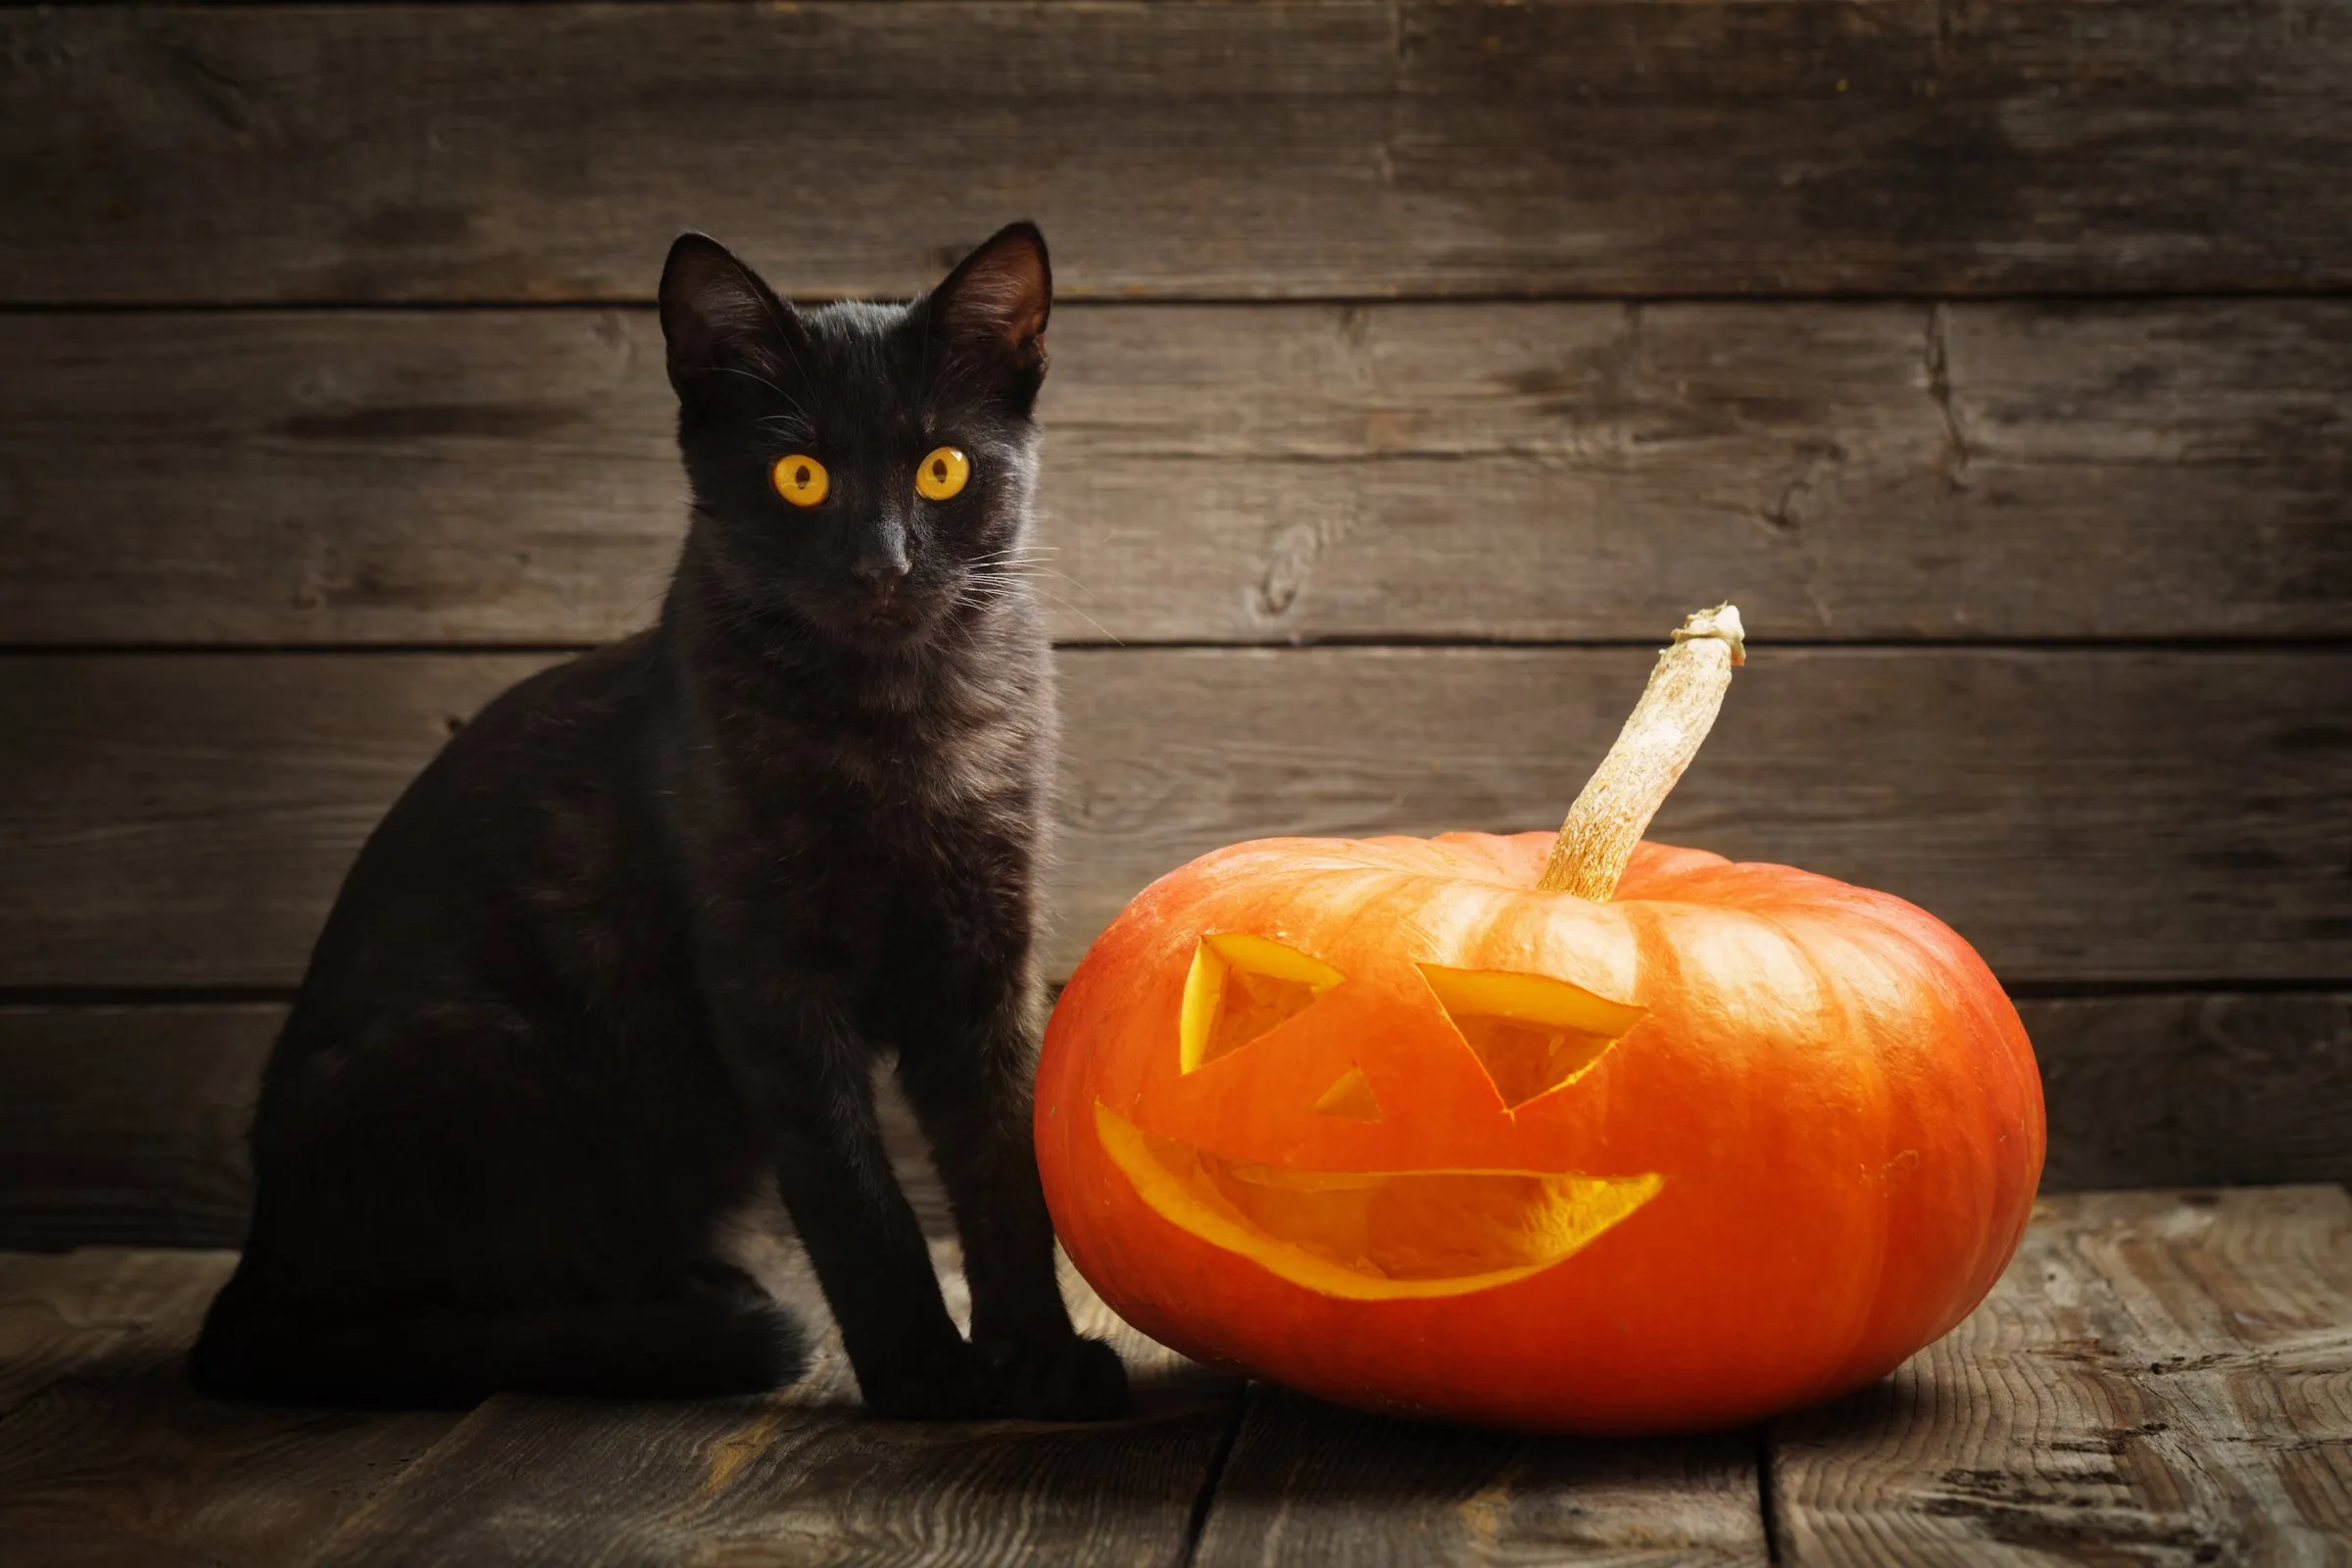
Not every cat pumpkin needs a knife. The first two ideas below use a marker and a paint pen, and the fourth starts with a drill.
The list runs from no-knife to show-off: two you can hand to a kid, three easy carves, a cat built from two pumpkins, and a skeleton cat that takes real patience.
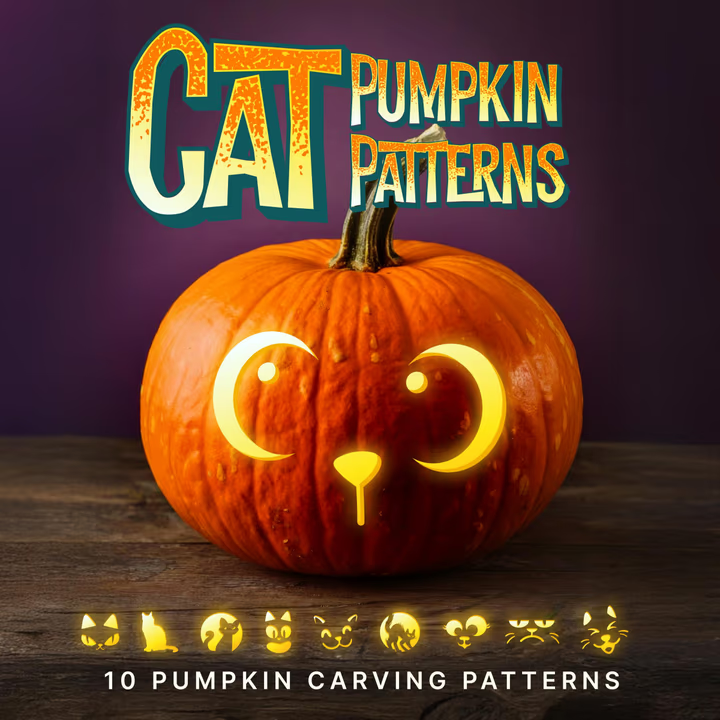
Two of the seven are from my Halloween Cat set, which has 10 cats in one PDF. For those, you’ll see a mockup of the finished pumpkin. The other five come from crafters whose ideas were too good to leave out, and each photo is theirs, credited and linked.
You won’t find famous cartoon cats on this list. They belong to companies with lawyers, and the lawyers would rather you didn’t.
1. Sharpie cats on a white pumpkin (no knife)
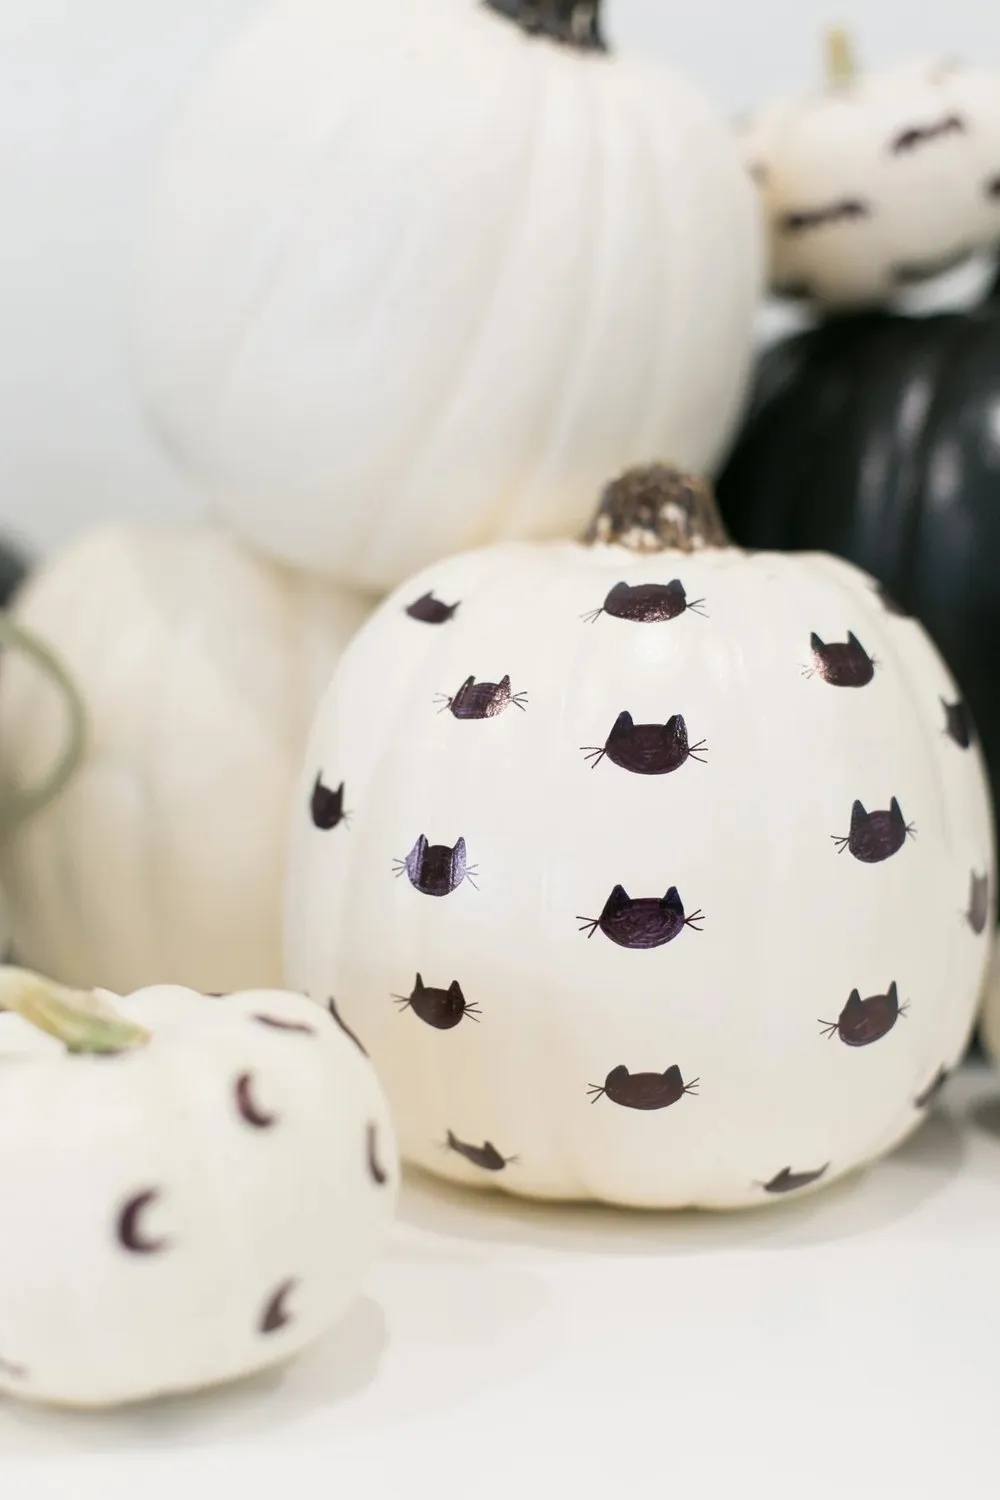
Photo: Lovely Indeed
Chelsea at Lovely Indeed covers a white pumpkin in little black cat faces with a Sharpie. Her drawing chart builds each one from an oval, then ears, then whiskers. One way she suggests working: draw all the ovals first, then go back for the ears and whiskers.
She counts the sections between the pumpkin’s seams before she starts, so the cats come out evenly spaced. She also likes dual-tip Sharpies: the fat end fills the heads, the fine end does the whiskers.
2. A painted black cat face (no knife)
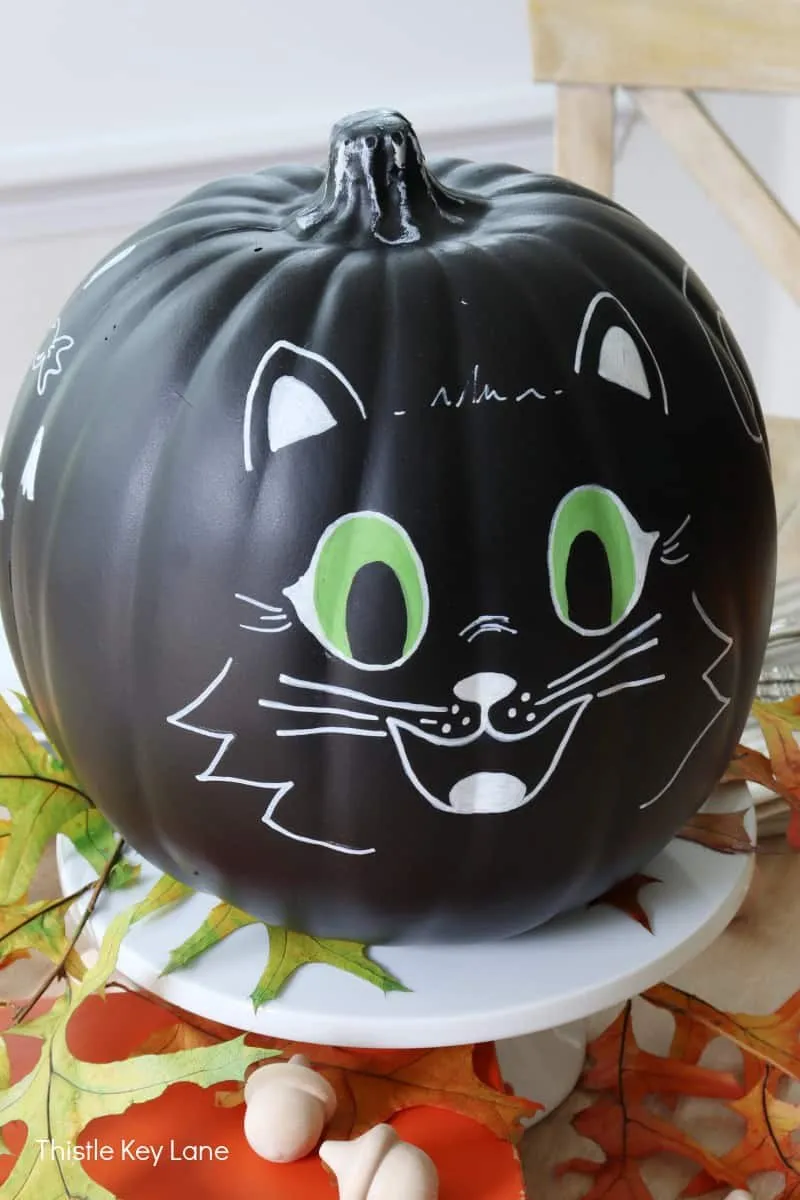
Photo: Thistle Key Lane
Michelle at Thistle Key Lane starts with a black plastic pumpkin, or a real one painted black. She sketches the face lightly in chalk, traces it with a white paint pen, and does the eyes in green so they pop.
The chalk is the smart part. It wipes off with a soft cloth, so you can redraw the face until you like it before anything permanent touches the pumpkin. And don’t chase perfect. As she puts it, “Goofy cartoon characters always have one eye a little bigger than the other.”
3. Cat Eyes (easy)
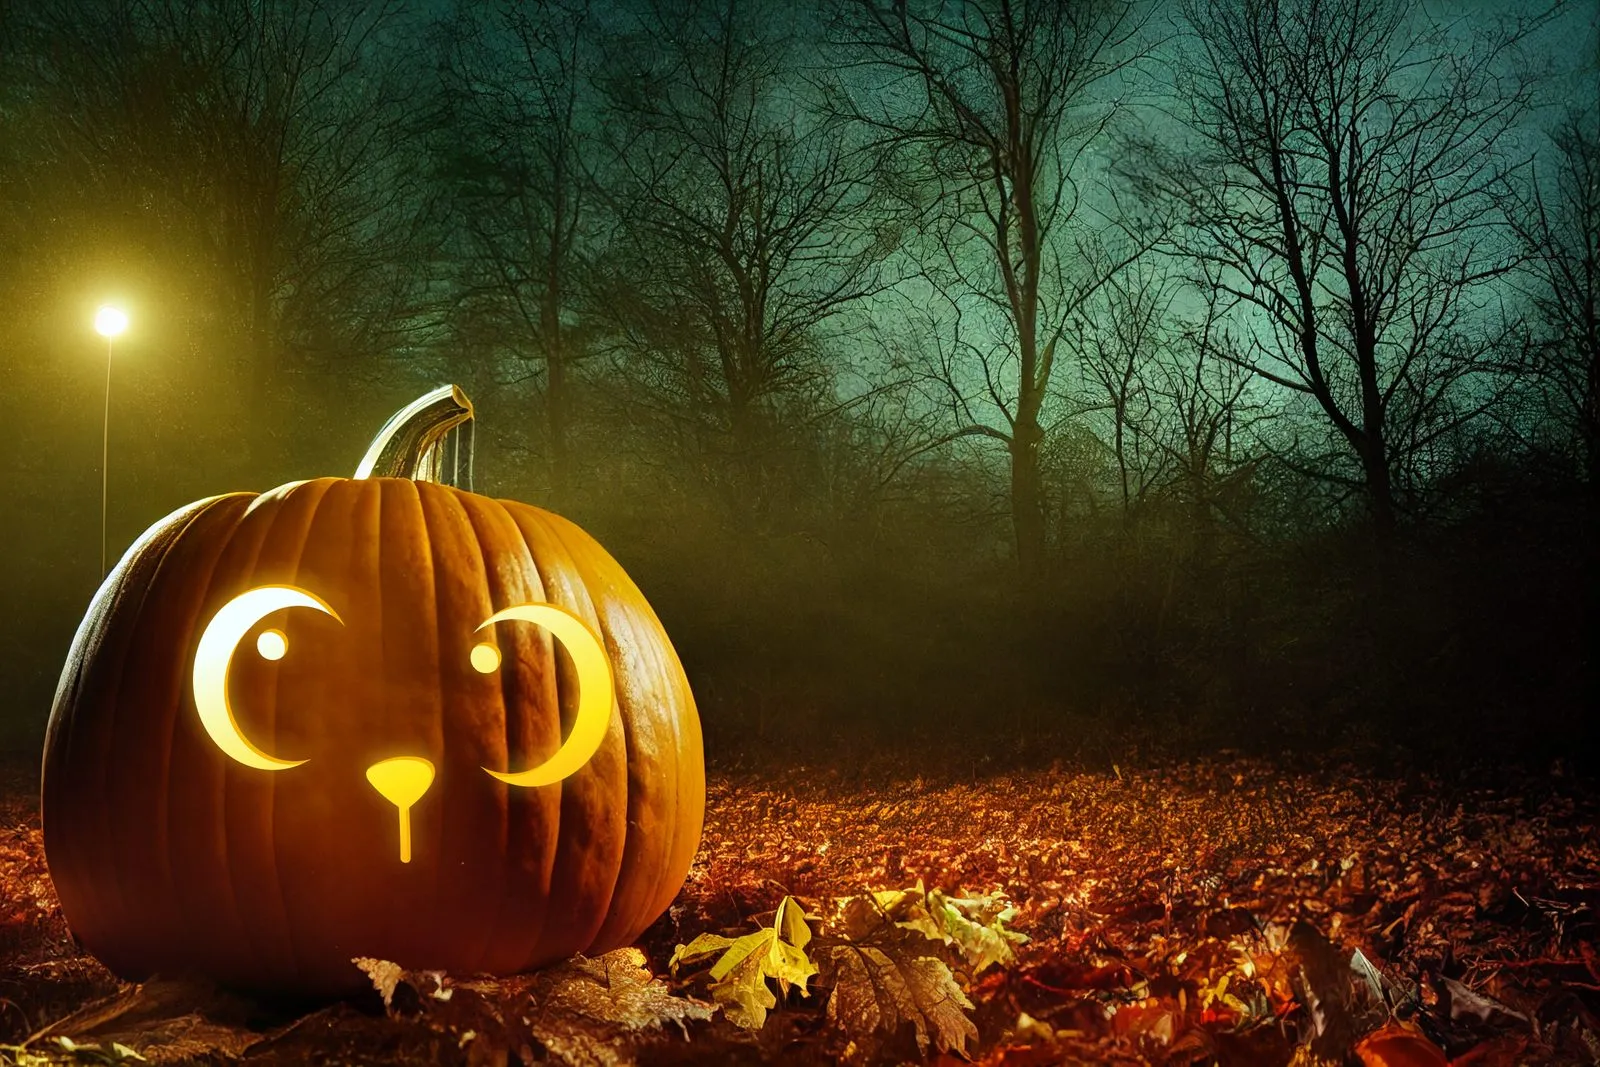
Mockup: Cat Eyes, from the Halloween Cat set
Two crescent-moon eyes, a dot for each pupil, and a little nose and mouth. It’s the design on the cover of the set, and it’s about as simple as cat faces get, with five pieces to cut.
Cut the pupil dots first, while the pumpkin around them is still solid.
4. Drilled cat heads (easy, with a drill)
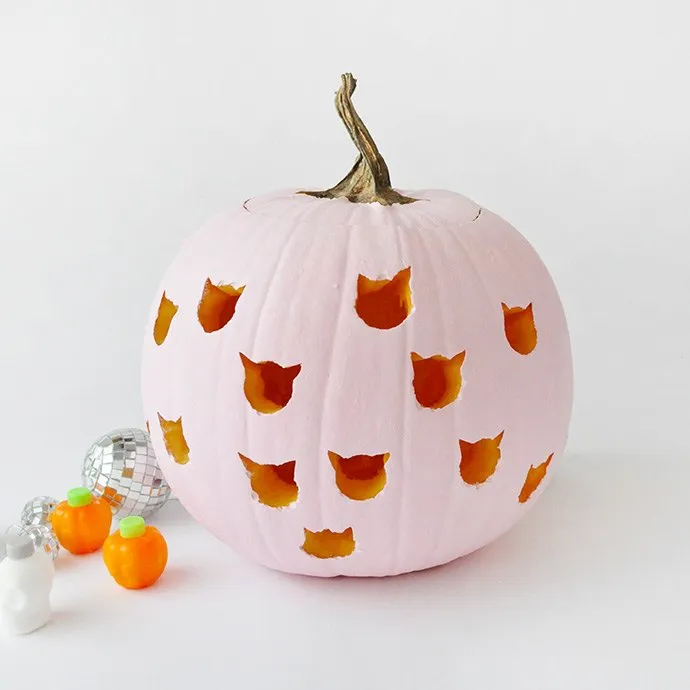
Photo: Handmade Charlotte
Handmade Charlotte skips tracing altogether. Clean out the pumpkin, drill holes polka-dot style with a 1-inch spade bit, then cut two little triangles into the top of each hole with a carving knife. Every hole turns into a cat head.
If you’ve ever run wire through a wall stud, you already own the bit. Their pumpkin’s skin chipped around a few holes, and a coat of light pink outdoor acrylic paint covered it.
5. Mystery Cat (easy)
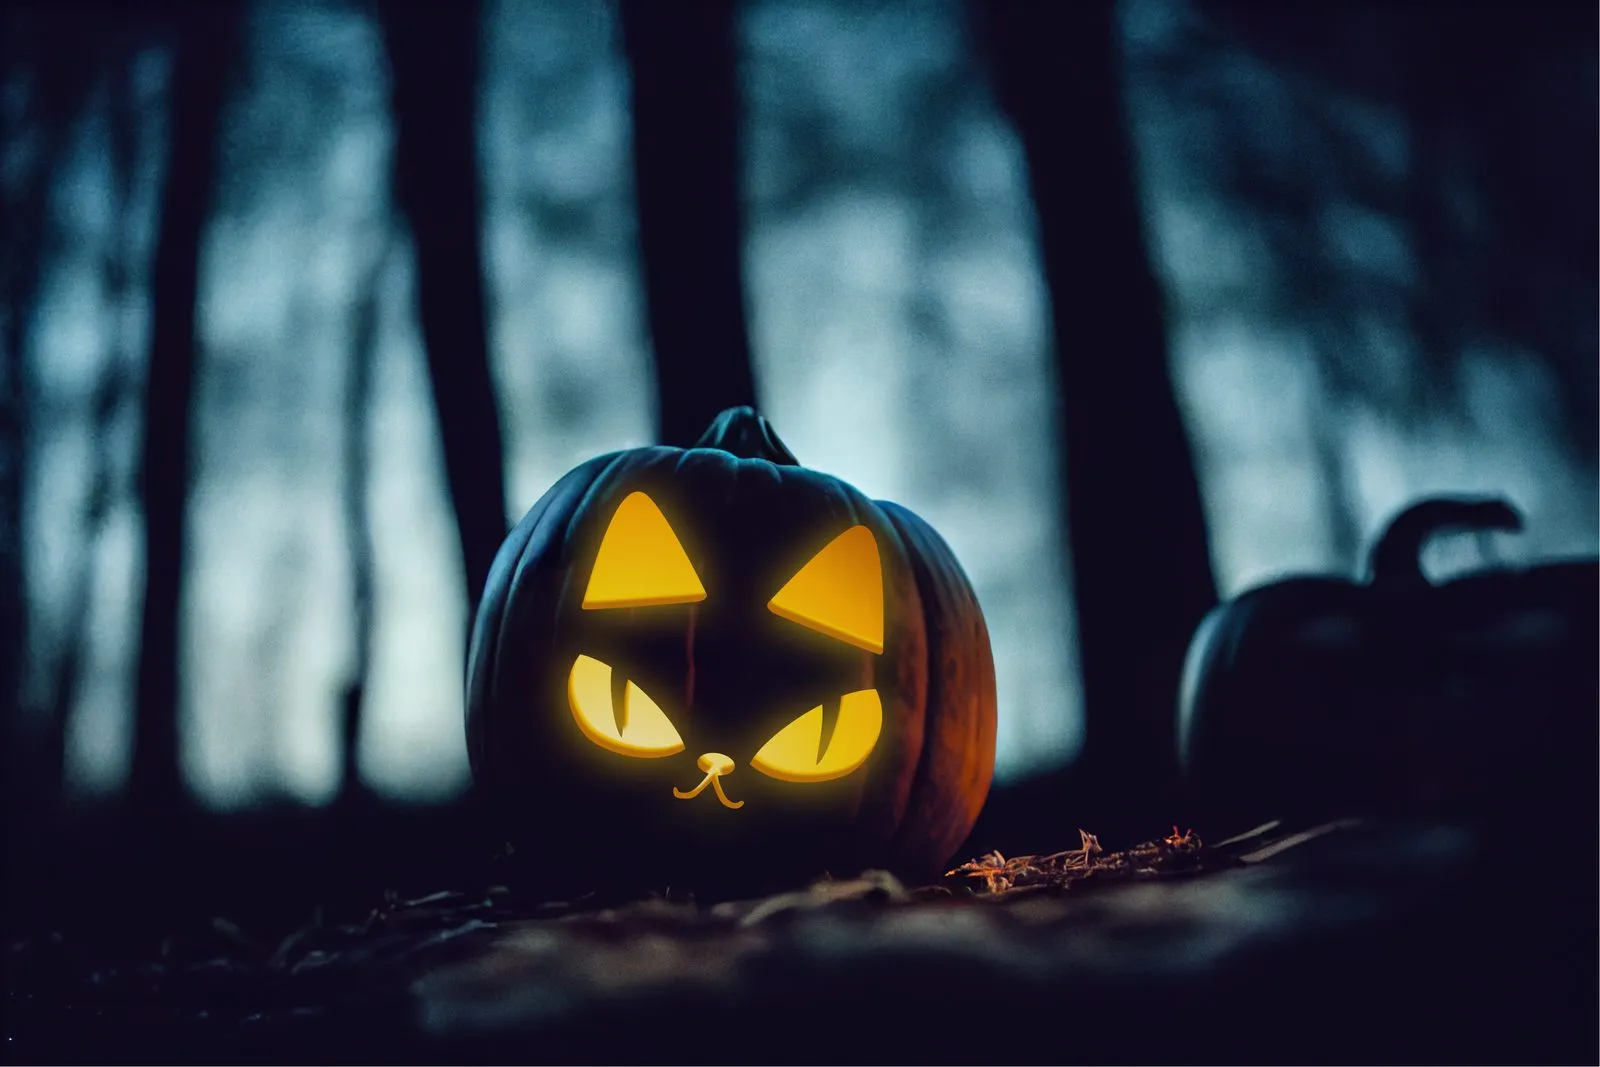
Mockup: Mystery Cat, from the Halloween Cat set
The classic black cat face, with tall pointed ears and slit pupils.
The slit pupil is a sliver of pumpkin you leave standing, so keep it thick. Pupils and ear tips are usually the first things to snap, the same way the antenna is the first thing to go on an old minivan.
One buyer carved the set with their boyfriend and reported that their “black cat approved of the result.” That’s the review I’m aiming for.
Cat Eyes and Mystery Cat are both in the Halloween Cat set, along with eight more cats, in one PDF for $3.99.
6. A stacked black cat (medium)
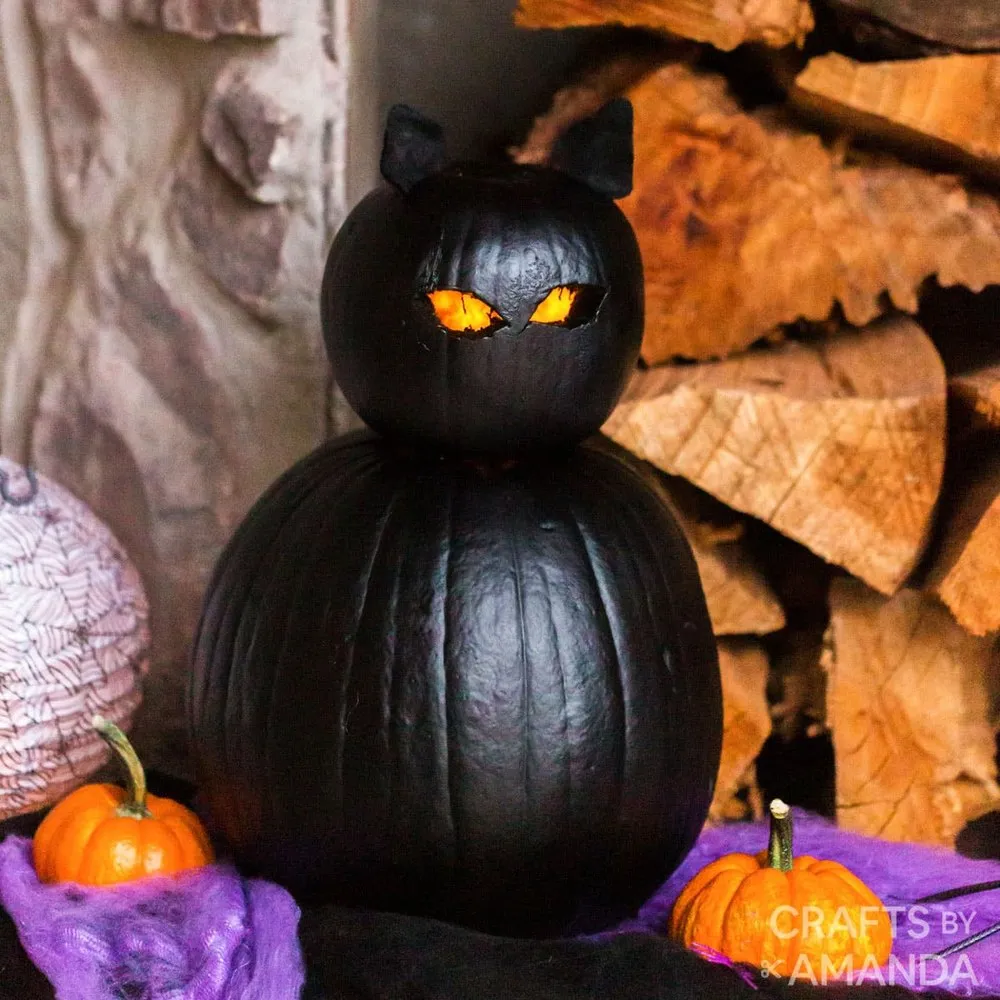
Photo: Aimee Page for Crafts by Amanda
Aimee Page’s version for Crafts by Amanda uses two real pumpkins. Cut the top off the small one and clean it out, then carve two almond eyes. Spray-paint both pumpkins black. The ears are two layers of black felt or craft foam glued around a toothpick and poked into the bottom of the small pumpkin.
Then the small pumpkin goes upside down on the big one, held with wooden skewers, over a tea light sitting on the big pumpkin’s top. The light ends up inside the head and shines out the eyes. Their idea for a tail is a long zucchini or cucumber painted black, which I can’t stop thinking about.
The post calls a battery tea light the safer choice. I’d go with one.
7. A skeleton cat (hard)
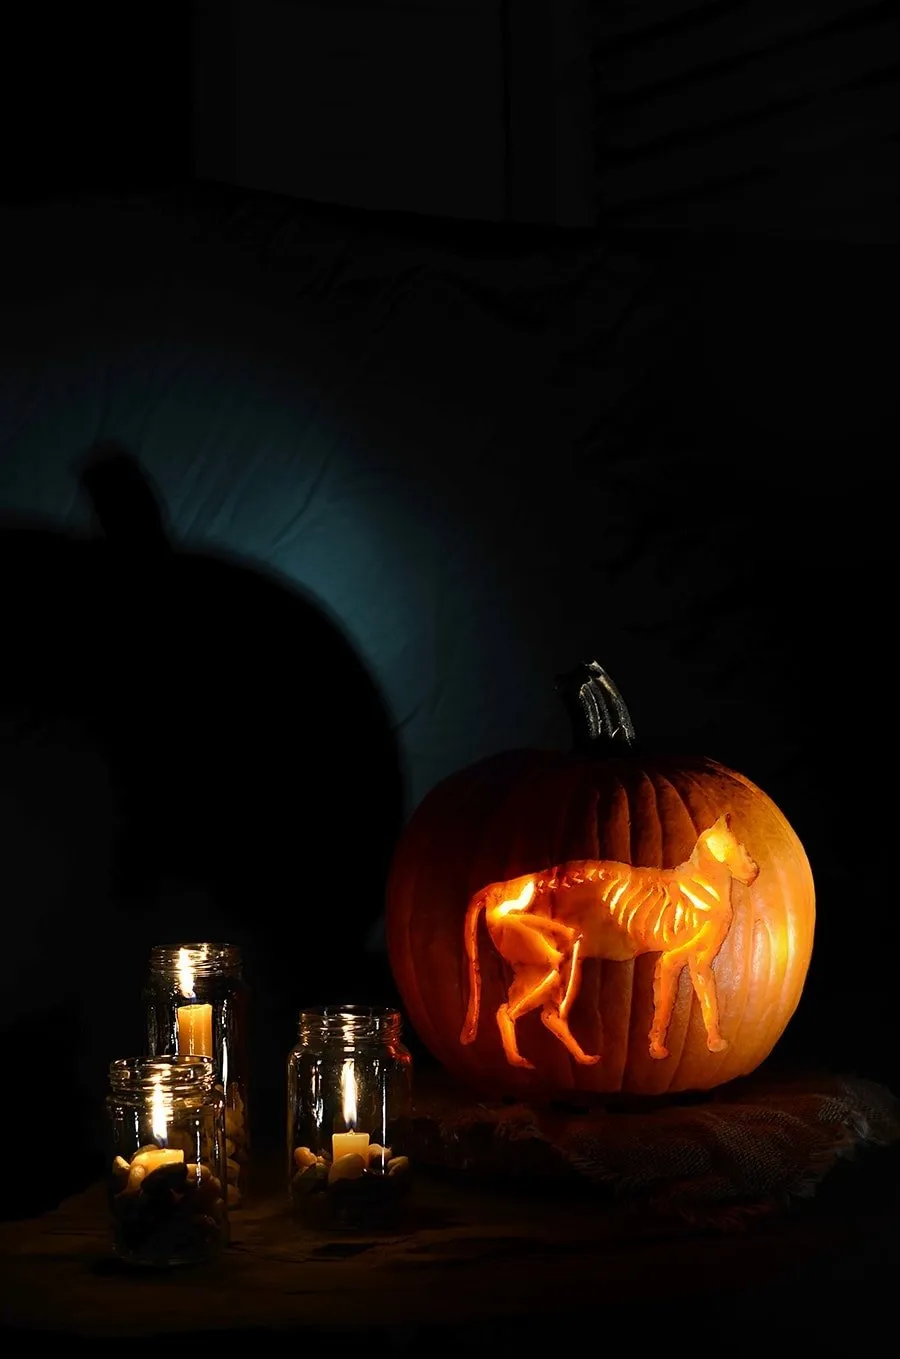
Photo: Vintage Kitty
The show-off option. Kitty at Vintage Kitty based this skeleton cat on a vintage picture and says it takes intermediate carving skills. She carved out the bones, then scraped the skin thin for the cat’s body so it glows softer than the skeleton.
Her trick for the skinny bones: poke a hole at each end of a bone, then saw between the holes. Poke every hole before you cut anything, and do the smallest pieces first. She lights hers with a battery candle.